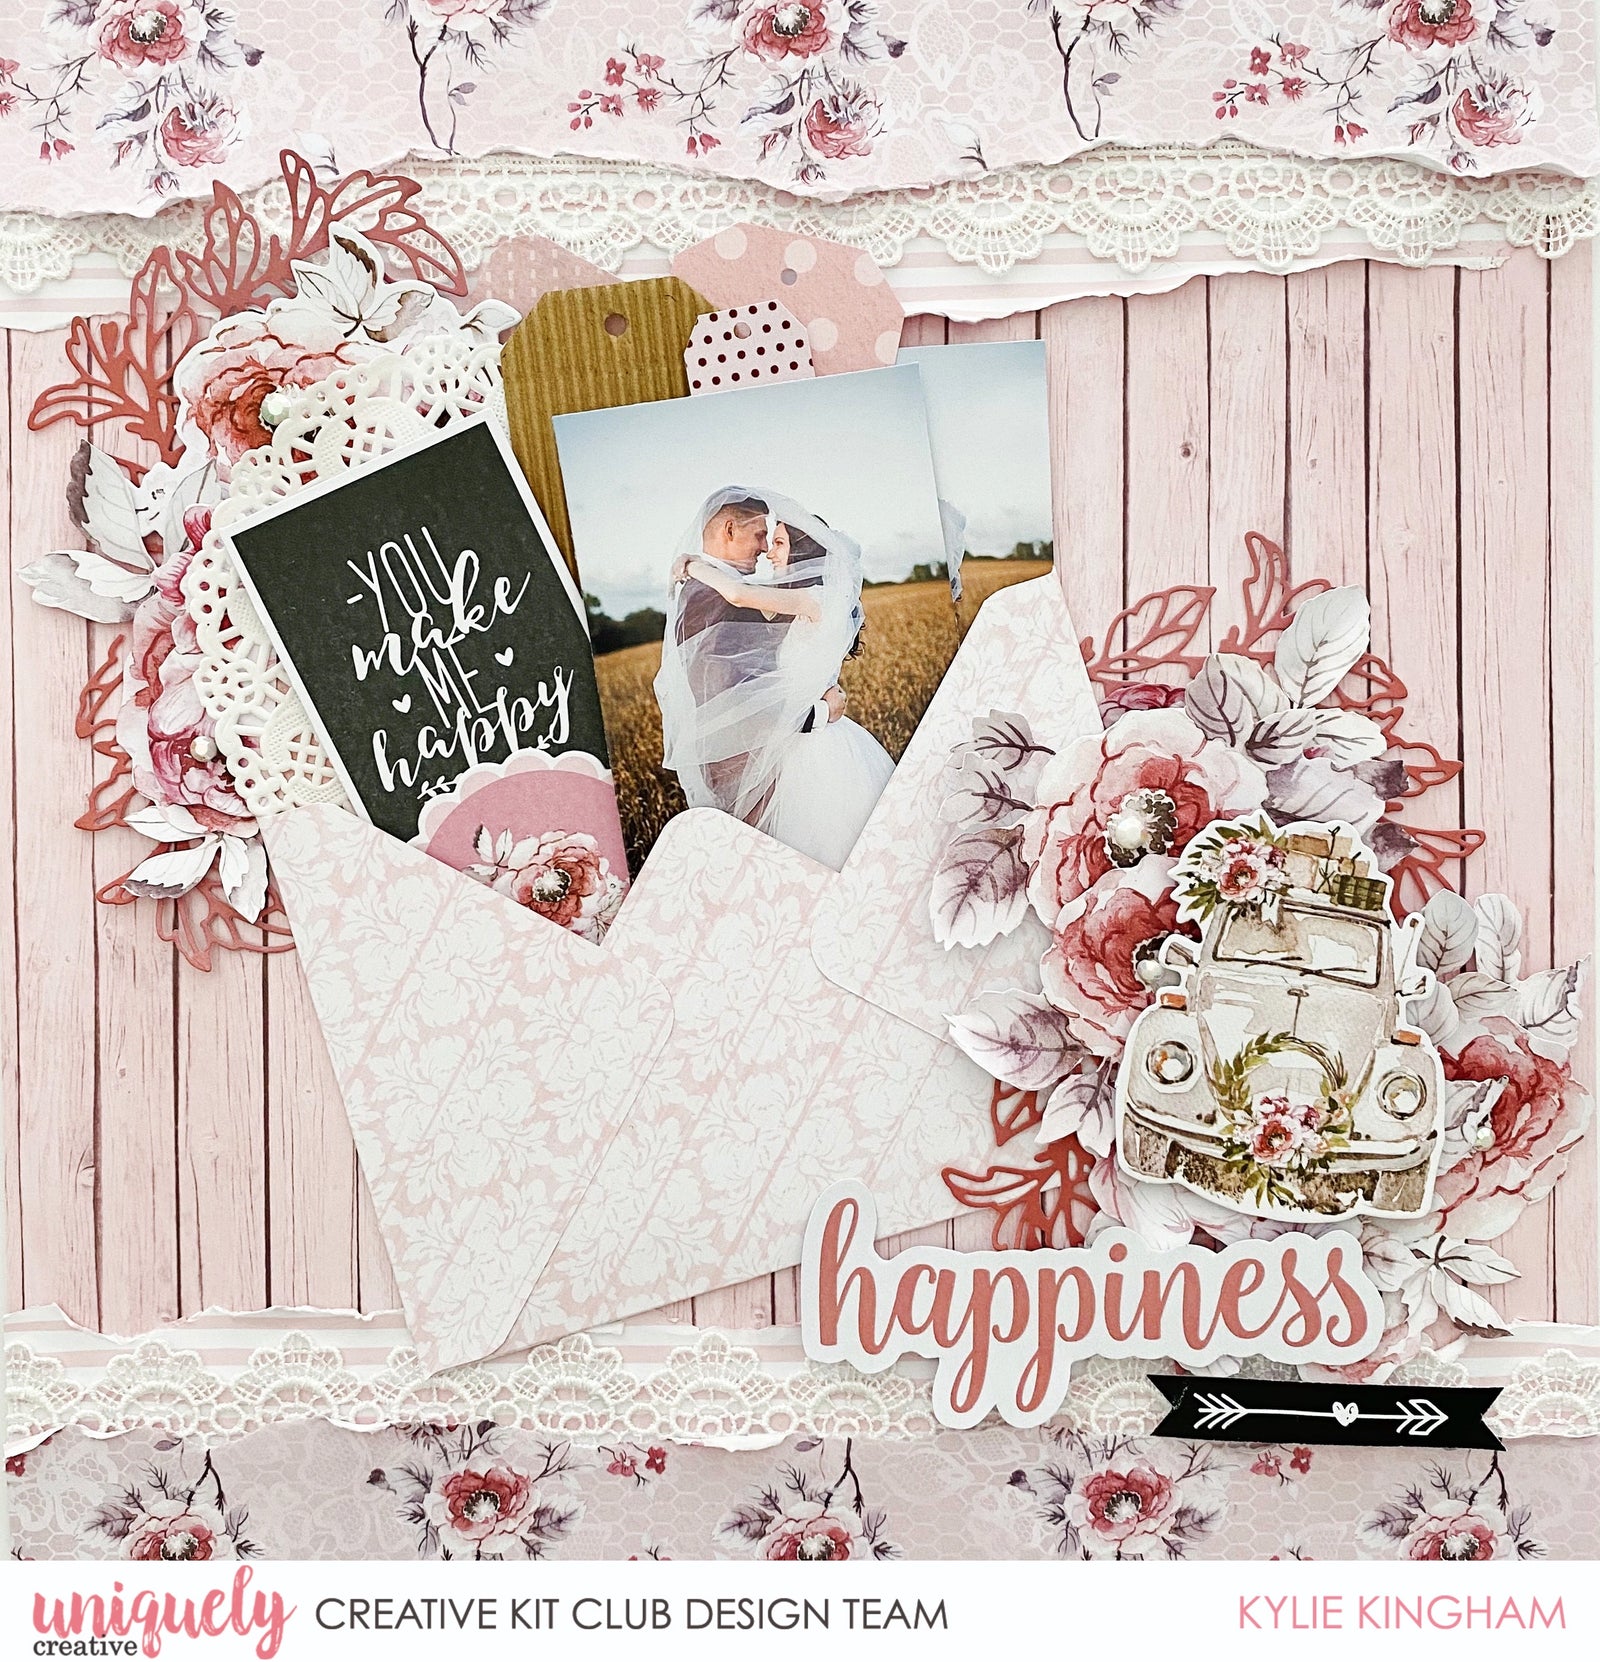
You Make Me Happy - Kylie Kingham

Uniquely Creative Products Used
UCP2142 Chance, UCP2143 Adore, UCP2144 Happiness, UCP2145 Blessed, UCP2146 Providence, UCP2148 Forever, UCP2149 Serendipity Creative Cuts, Mini corrugated tags, Doilies, Serendipity Lace, Crystal Rhinestones, UCD1960 Serendipity Foliage die, Serendipity Cut-a-Part Sheet
Other Products Used
Scissors, trimming board, glue, double sided tape, foam adhesives, distress tool, die cutting machine, envelope punch board (optional) or envelope, pencil
Instructions
1. First create an envelope for the background of the layout. This can be done with an envelope punch board OR carefully pull apart an envelope to act as a template. Trace to the spotted side of the Happiness paper and cut out - As a guide I created an envelope which would be 6”x 4” when fully closed.

2. Fold the envelope and adhere together with double sided tape. I have folded mine so that the spotted part of the paper design on the inside is positioned on the open flap.

3. Tear two strips of the Chance paper approximately 1 ¼” wide and adhere to the top and base of the Providence paper. Tear two more strips of the Chance paper approximately 1” wide and adhere with the striped pattern facing, tucked under the two floral strips. Adhere a strip of lace over each striped strip. For added texture, ruffle the torn edges with your fingernails a little.

4. Fussy cut floral elements from the Blessed paper and using coral tones from the Forever paper, cut the Serendipity Foliage Die.

5. Adhere the envelope on an angle to the background and begin adding elements to the inside. I have used a doily, a note card and tag. I’ve printed the same photo twice and trimmed them down to 3”x 4” each.

6. Tuck the die cut foliage pieces alongside the floral fussy cuts to support the envelope. Use foam adhesive to help build height and dimension.

7. Fussy cut the ‘Happiness’ title and a smaller arrow banner from the cut-a-part sheet and adhere below the envelope using foam tape.

8. To finish the layout, add a fussy cut tag from the cut-a-part sheet as well as cut your own from the Adore paper to tuck in behind the photos.
