Awesome Tutorial - Rachel Dutko

Uniquely Products Used:
- UCCA1735 Pink Lake Cardstock
- UCP2399 Steampunk Boutique Creative Cuts
- Cut A Part Sheet
- UCP2387 Guilded Cage
- UCP2392 Interlaced
- Chantilly Flowers
- Metal Cogs
- Double-sided tape
- Uniquely Creative Foam Mounts
Other Products Used:
- Glue
- Ruler
- Scissors
- Scoreboard
- Black Archival Ink
- Edge Distresser
- Black Cardstock
- Black Pen
Instructions:
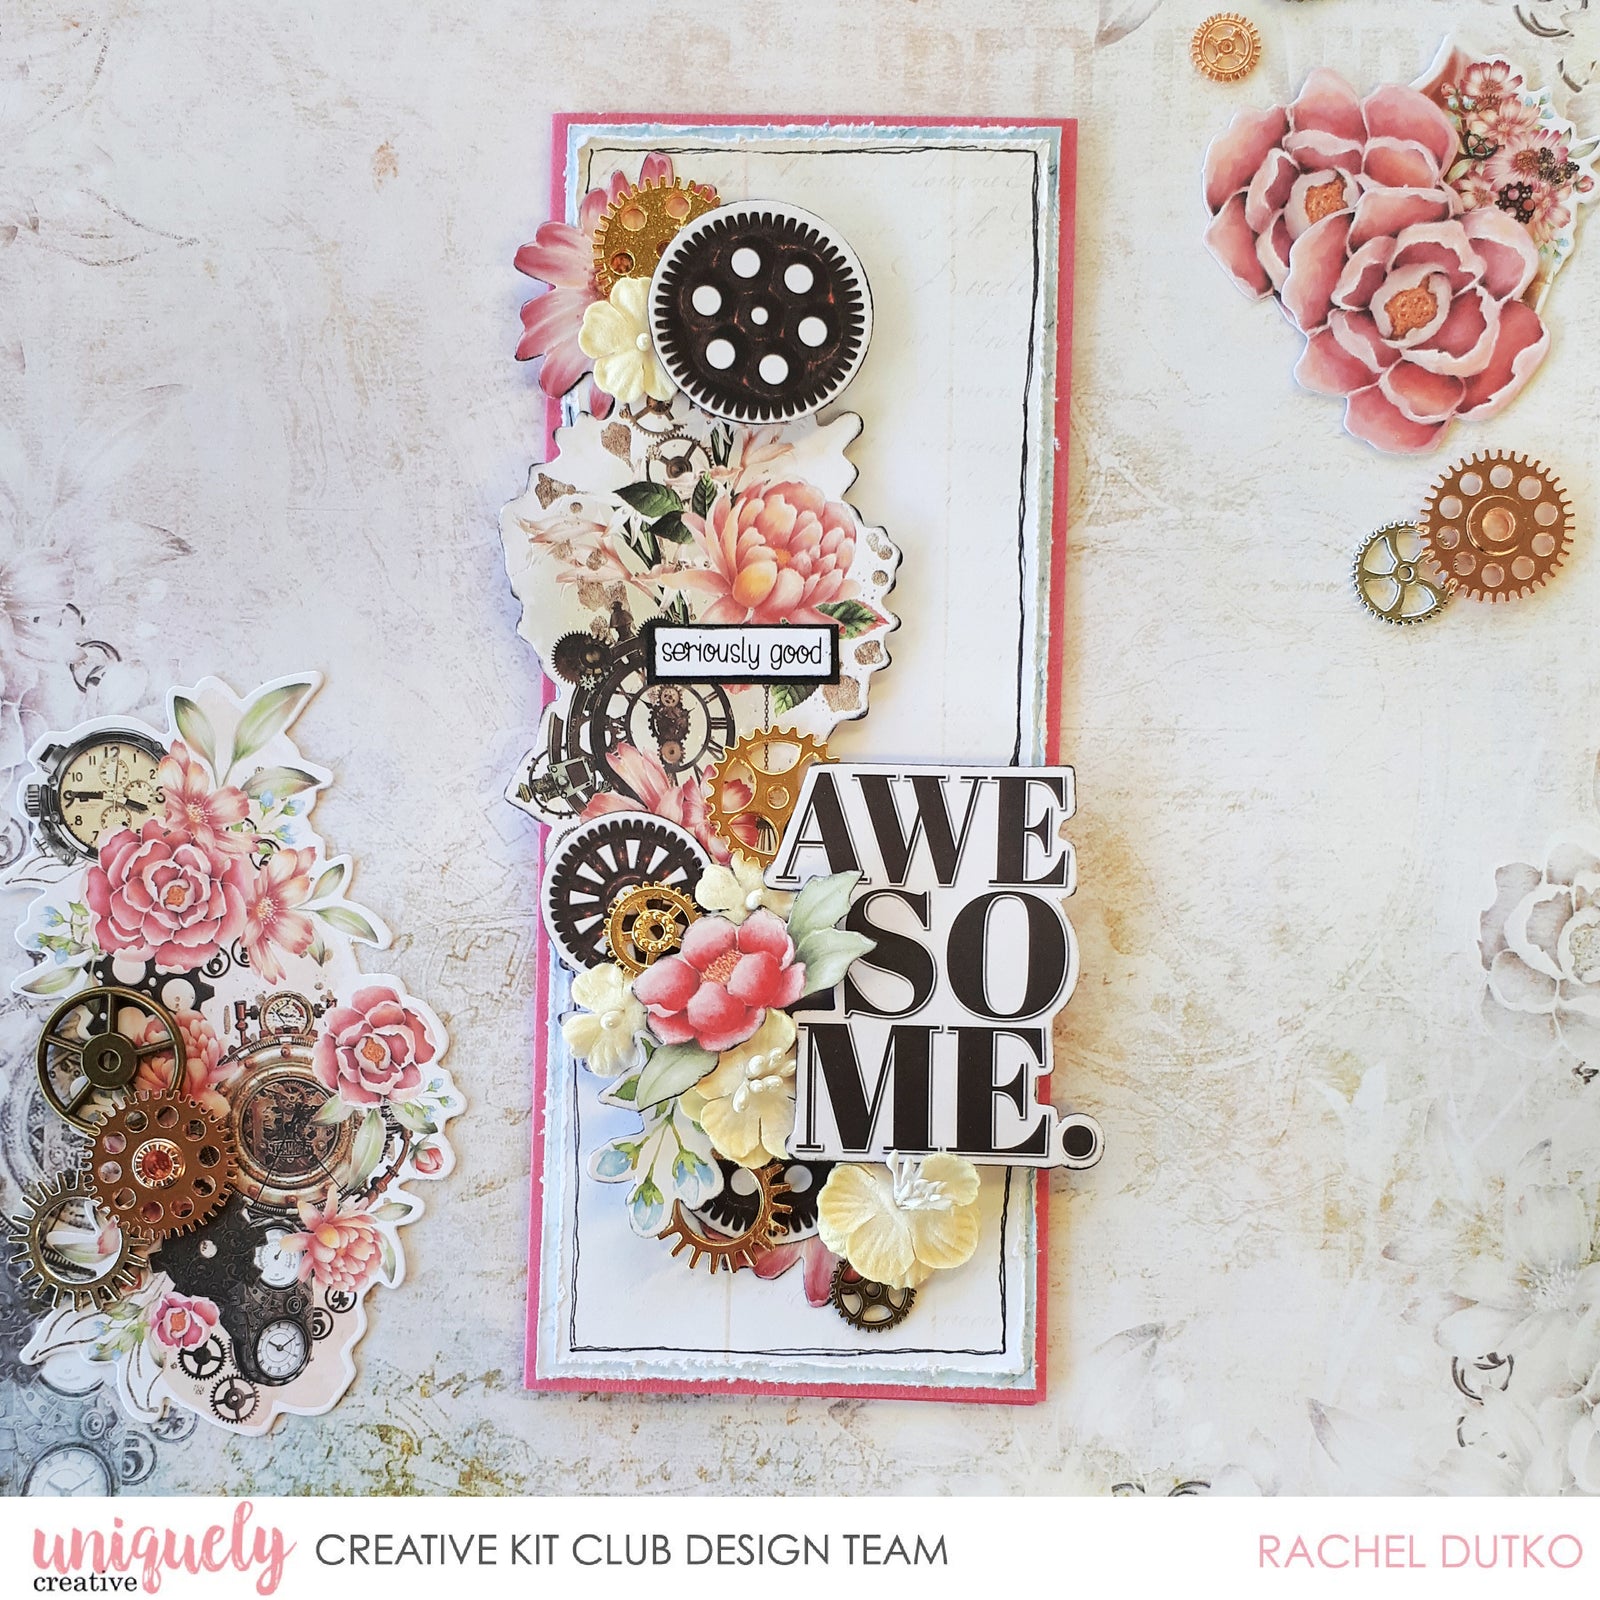
1. Trim a piece of Pink Lake cardstock to 7"x 8 1/2". Score in half on the 7" side to create a slimline card base measuring 3 1/2" x 8 1/2". Trim a piece of Interlaced paper to 3 5/16" x 8 5/16" ( I've used the B side).

2. Trim a piece from the centre of the Guilded Cage paper measuring 3 1/8" x 8 1/8".

3. Distress the edges and adhere to the card base.

4. From the Creative Cuts pack select 3 cogs, 2 pink flowers, a blue flower stem, a pink flower with green leaves, a large cluster piece and the 'awesome' title. Ink the edges with black ink.
Adhere to the card using foam mounts. Add the adhesive to the centre of the Creative Cuts so there is space to tuck other pieces behind.

5. Hang some of the pieces over the edge of the card for a more dimensional look.

6. Adhere 5 Chantilly flowers and 5 metal cogs, tucking in under the layers.
 |
 |
7. Trim the 'seriously good' sentiment from the cut-apart sheet. Ink the edges and matte on black cardstock. Adhere to card.

8. Add a border with black pen.

