December 2010 Tutorial - Rachael Funnell
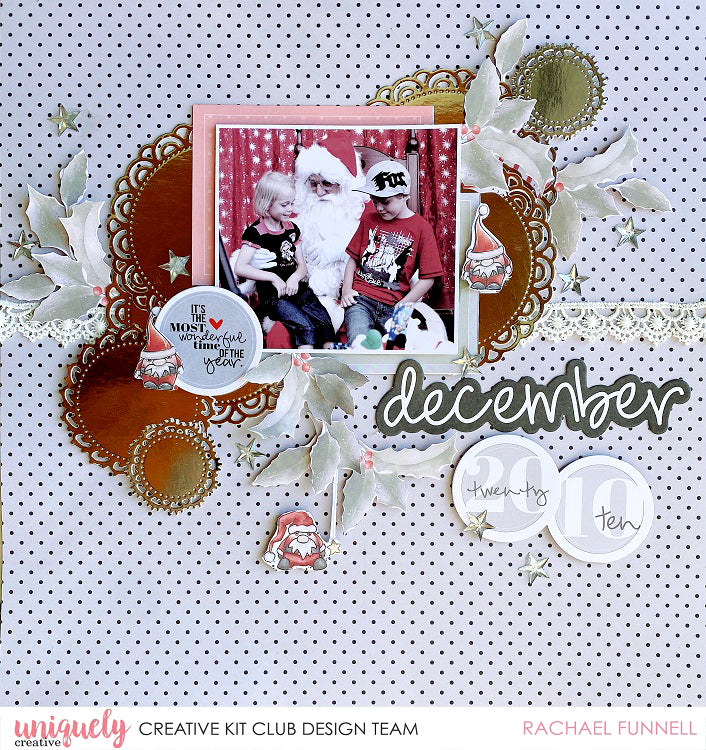

Photo Size: 4 x 3 1/2" with a white border
Uniquely Creative Products Used:
UCP2257 Countdown, UCP2258 Trim The Tree, UCP2259 Deck The Halls - Fussy Cuts, UCP2253 The Season, UCP2263 Creative Cuts, UCD2012 Gift Tag Die, UCD2005 Lace Circle Die, UCE1803 Foam Mounts Squares and Strips, Silver Stars
Other Products Used:
Scissors, Craft Knife, Adhesive Tape and Glue
Instructions:
1. Cut out two of the rectangles from the Trim The Tree paper and adhere your photo to these using foam mounts.

2. Adhere a strip of the Lace 5” from the top of The Season paper.
3. Cut a 4”x12” Strip from the Silver Foil Card, from this strip die cut out two of the large, one of the medium & two of the small using the Lace Circle Dies, then cut the two large lace circles in half.
4. Adhere the large lace circles slightly off centre, to the left side of the The Season page with glue or tape then adhere the rest of the lace circles with foam mount, next adhere your photo.

5. Attach the December word from the creative cuts to your page.
6. Using the rimmed circle die from the Gift Tag Die set, die cut out circle sentiment from cut-a-part sheet, then the year circles from the Countdown paper and attach using foam mounts. TIP: cut the circles out with scissors or craft knife first, making sure there is enough white around the circles.

7. Fussy cut out some of the Grey Holly & Santas from the Deck The Halls-fussy cut cut paper and adhere the page.

8. Scatter some of the Silver stars to finish off the page.

