Learn how to make this Happy Easter card with Copic Markers
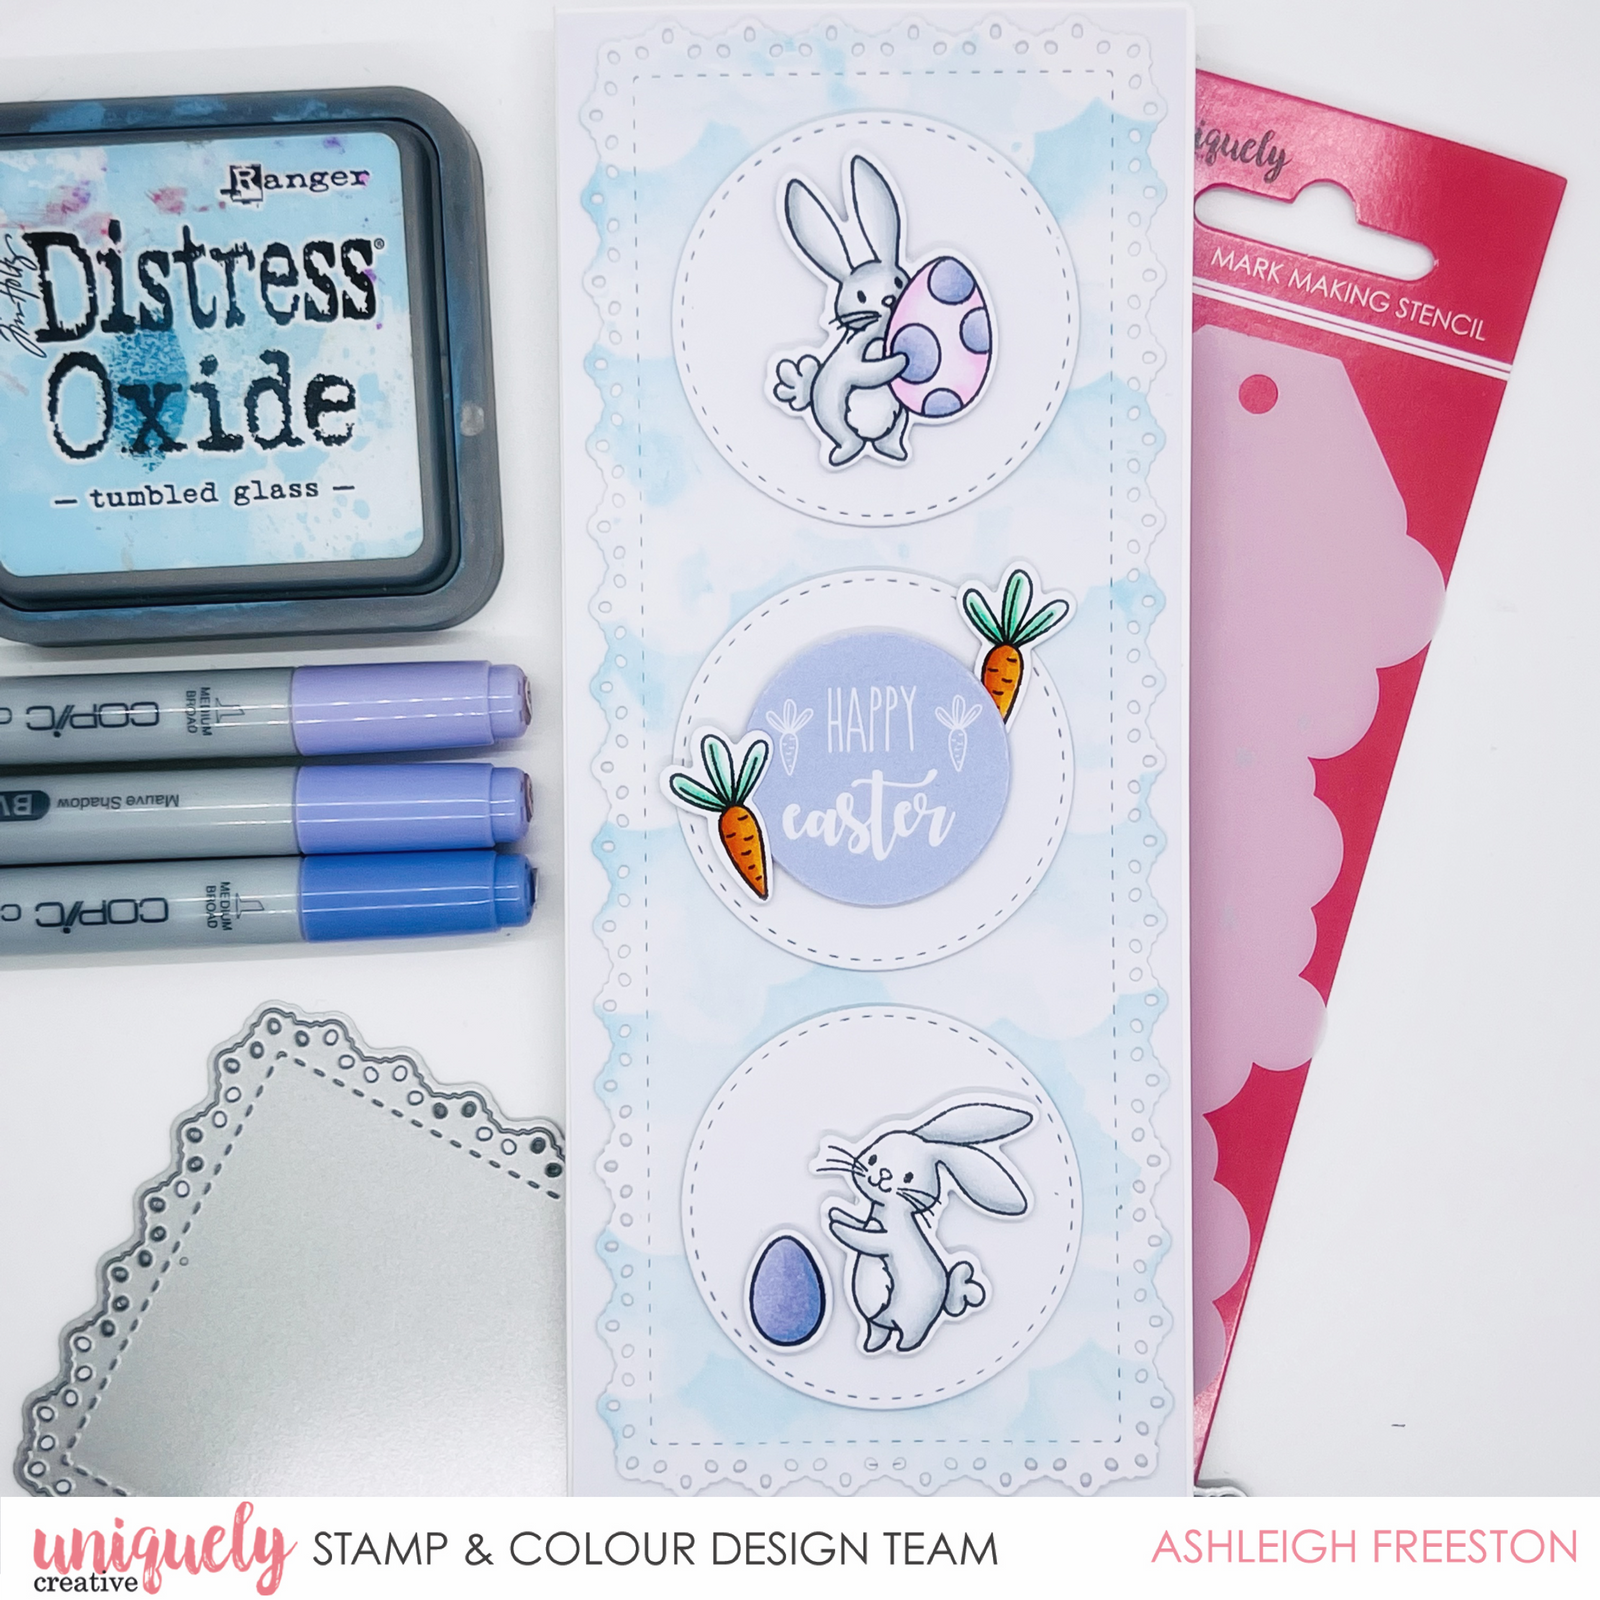

Are you struggling to find the perfect Copic Marker combination to for Easter Rabbits? Today Design Team Member Ashleigh Freeston shares her favoutie bunny greys and great tutorial on how she used blending brushes to create this fun stencil background.
Uniquely Creative Products Used:
- UC1858 Be Hoppy Stamp Set
- UCD2040 Be Hoppy Die
- UCL1734 Be Hoppy Laser Cut
- Be Hoppy Cut-A-Part Sheet
- UCMM1751 Scene Builder Clouds & Grass Mark Making Stencil
- UCD1967 Slim 3 Circle Window Die
- UCD1965 Slim Doily Rectangle Die
- UCD1985 Cut-a-Part Essentials #6 Die
- Slimline Card & Envelopes
- Uniquely Creative Blending Brush
Other Products Used:
- Smooth White Cardstock,
- Black Cardstock,
- Distress Oxide: Tumbled Glass, Acetate Sheet
- Water Spray Bottle,
- Adhesives
Copic Markers:
- Bunny – C00, C0, C1, C2, C3
- Purple – BV000, BV00, BV02
- Pink – RV02, R00, RV000
- Carrot – YR09, YR07, YR04; G02, G00, G000
1. Die cut largest Slim Doily Rectangle Die from white cardstock.
2. Press Tumbled Glass Distress Oxide onto acetate sheet and spritz with water. Turn over and press onto die cut piece. Dry well with heat tool.

3. Using blending tool, ink over Clouds Stencil with Tumbled Glass Distress Oxide, working from the top of the piece down to the bottom.

4. Die cut Slim 3 Circle Die from white cardstock. Adhere piece to front of Slimline card base.

5. Stamp and colour the images with the colouring medium of choice (I used Copic markers). Die cut or fussy cut the images once complete.

6.Assemble the card by adhering the Doily Rectangle onto the front of the card base. Adhere the 3 stitched circles down the centre, before adding the stamped images with foam mounts. To complete the card, adhere the sentiment in the centre.
