Hello Summer Tutorial - Ali Farmer

Uniquely Creative Products Used:
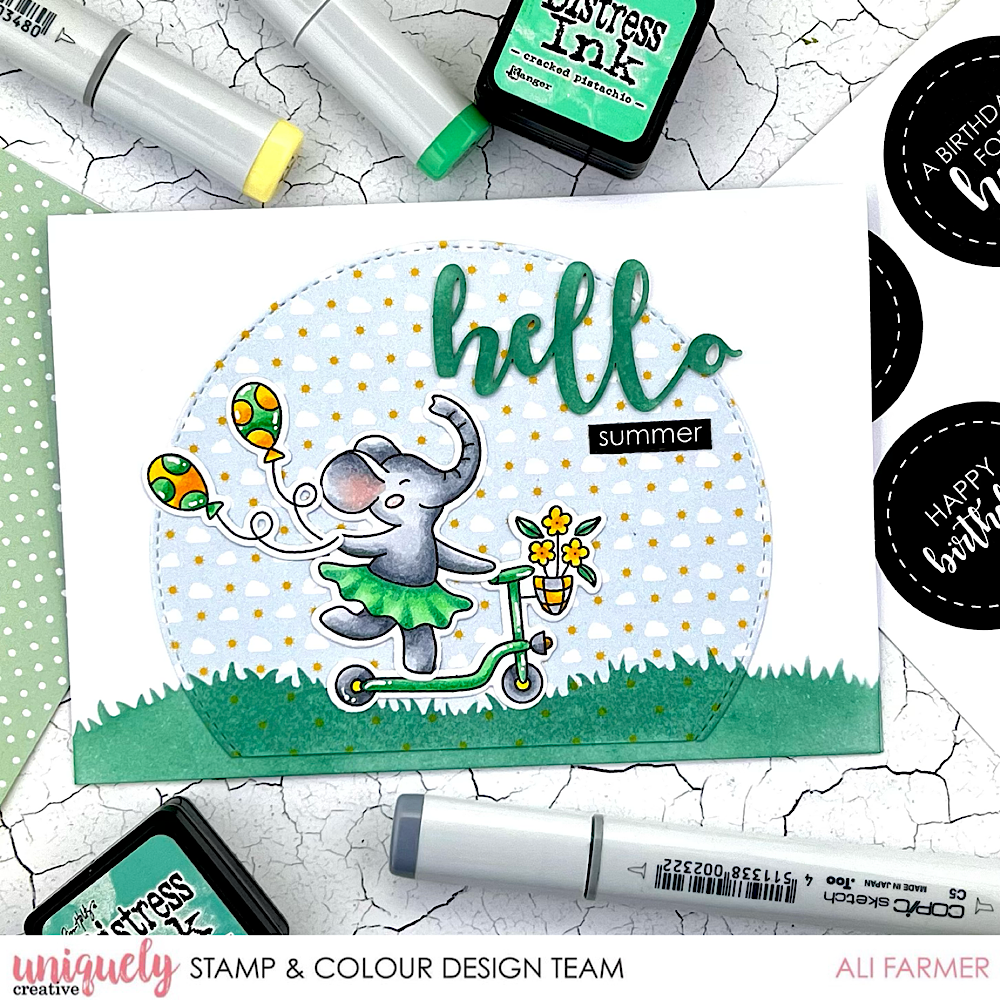
UC1854 Enjoy The Summer Fun Stamp, UCMM1752 Scene Builder Nature Elements, UCD2033 Stitched Nesting Circles, UCL1729 Summer Laser Cut, Patterned Paper, Summer Mini Cut-A-Parts.
Other Products Used:
Distress Ink: Evergreen Bough, Copic Markers Y11, Y15, G17, G01, W7, W5, W3, W1, W00, R20
Instructions:
1. Use Scene Builder Nature Elements stencil to ink a grass border along the bottom of a white card base with Evergreen Bough Ink. Cut a circle from the patterned paper with Stitched Nesting Circles Die and trim a little from the base. Use the same stencil to ink the trimmed edge with Evergreen Bough ink, line up with the card base and adhere.

2. Stamp the images in copic friendly ink and colour with copics. Die-cut using corresponding dies and adhere to card as shown.

3. Ink "Hello" word from Summer Laser Cuts with Evergreen Bough Distress Ink. Cut the ‘Summer’ word from one of the circles on the mini summer cut-a-parts. Adhere both to the card as shown.

Wendy Schultz
January 02, 2022
I love this card Ali, it is bright and fresh a true presentation of a fun summer day. Your tutorial was easy to follow and understand. Thanks for sharing.