Our Warehouse is Now Closed for Christmas - All Orders will Ship from 7th January 2026
Our Warehouse is Now Closed for Christmas - All Orders will Ship from 7th January 2026
Add description, images, menus and links to your mega menu
A column with no settings can be used as a spacer
Link to your collections, sales and even external links
Add up to five columns
Add description, images, menus and links to your mega menu
A column with no settings can be used as a spacer
Link to your collections, sales and even external links
Add up to five columns
How to Make a Flip Album with Flowering Utopia
December 03, 2023 1 Comment

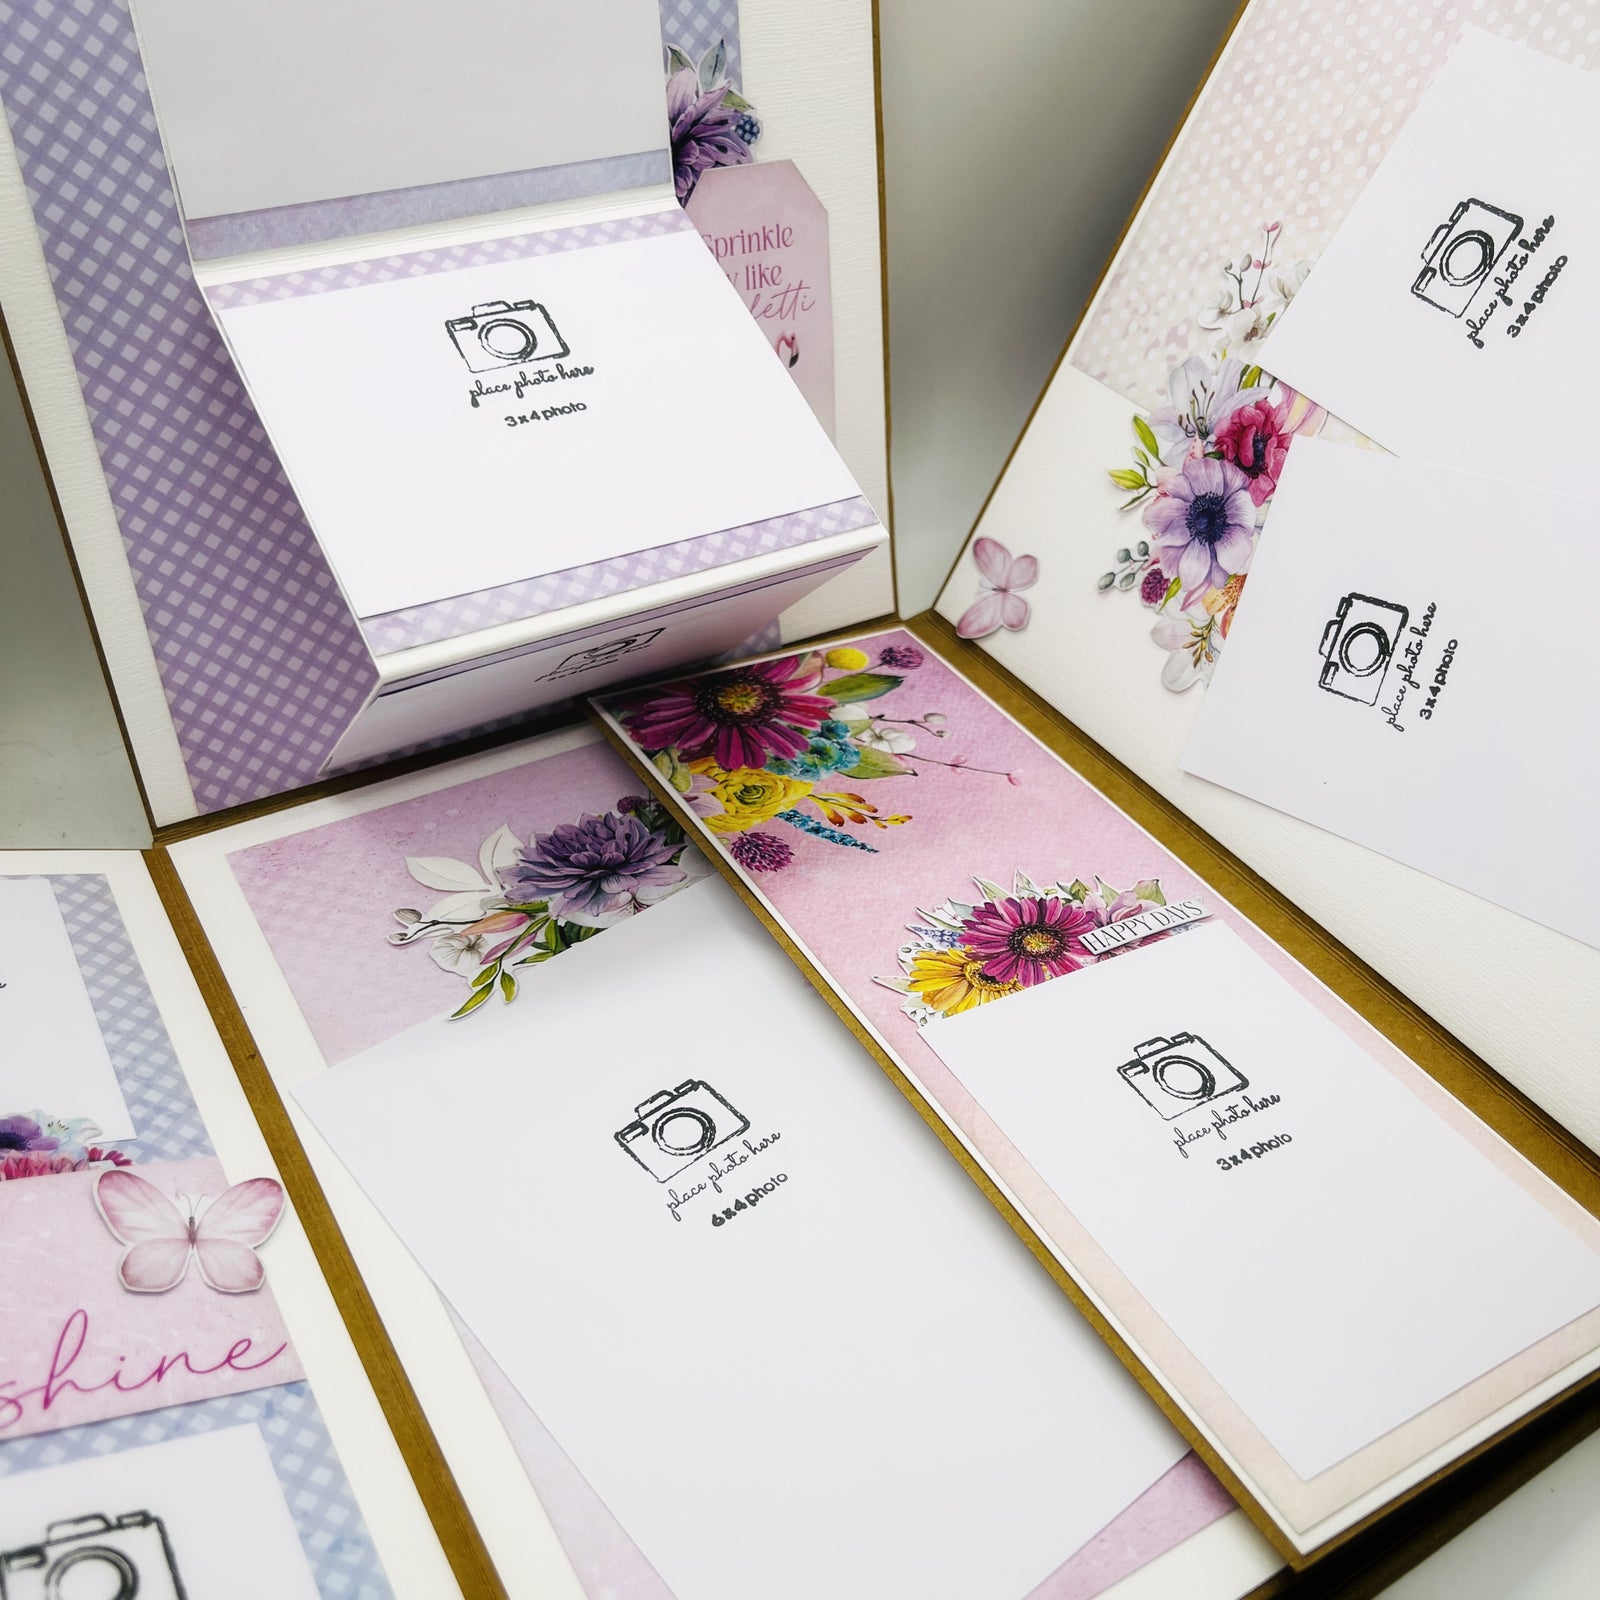
Today we want to share a gorgeous album created by one of our Design Team Members, using the stunning new Flowering Utopia collection and our brand new 8"x 10" Flip Album.
We have a list of all the scrapbooking supplies below to help you re-create this album, perfectly suited for our new album - The possibilities are endless!
Uniquely Products Used:
- UCE1991 8" x 10" Flip Scrapbooking Album
- UCP2670 Flowering Utopia Collection Pack 12x12
- UCP2672 Flowering Utopia Creative Cuts
- UCE1999 Flowering Utopia Flower Rub-Ons
- UCE2000 Flowering Utopia Background Rub-Ons
- UCE1998 Flowering Utopia Puffy Stickers
- UCE1997 Flowering Utopia Layered Stickers
- UCD2120 Flowering Foliage Die
- Flowering Utopia Cut-a-Part Sheet
- UCSVG100 Flowering Utopia Cut File Bundle
- UCCA1758 Antarctic Bliss Cardstock
- UCE1812 Slimline Cards & Envelopes
- UC1907 Place Photo Here Mark Making Stamp (January 2024 release)
- Foam Mounts, Double Sided Tape
- Fine Glue Pen
- Fussy Cutting Scissors
- Paper Trimmer
- Lost Shadow Distress Ink
- 450 Glue
- Scoreboard
- Electronic Die-Cutting Machine (such as Cricut)
- Pre-cut all the white cardstock inside album pieces to 7 3/4" x 9 3/4" (you will need 17 pieces this size) and 3 3/4" x 9 3/4" (you will need 4 pieces this size). You will also need one piece that is 6 1/2" x 6" and one piece that is 3 1/4" x 7 3/4" for the back pocket page.
- Assemble the page layouts directly onto the base pieces. Once the pages are complete, adhere them into the album with a strong glue such as Helmar 450.
- Write down or sketch out each page with the photos to include before you start to make the creative process easier.
- If you do not have photos already printed, use white cardstock as photo placeholders. If giving the album as a gift, you can also stamp the 'Place Photo Here' stamp with each of the photo sizes to help the recipient. Cut the cardstock slightly larger than the size the photos will be, so you’ll have a ready-made white border when the photos are added. If adding elements that are going to be stuck on top of the photos, make sure you do not include adhesive where the photo will go.
 |
|
 |
 |
 |
 |
 |
 |
 |
 |
 |
 |
 |
 |
 |
 |

|
 |
 |
 |
 |
 |
 |
 |
We hope you enjoy this blog post and it has given you some inspiration to make your own flip album. Happy Crafting!
1 Response
Leave a comment
Newsletter
Join our mailing list and never miss an update …


michelle mcaleese
February 01, 2024
is the 8×10 flip album featured in the feb monthly magazine?