Keep On Swimming Tutorial + Bonus Card - Natalie Elphinstone

Uniquely Creative Products Used:
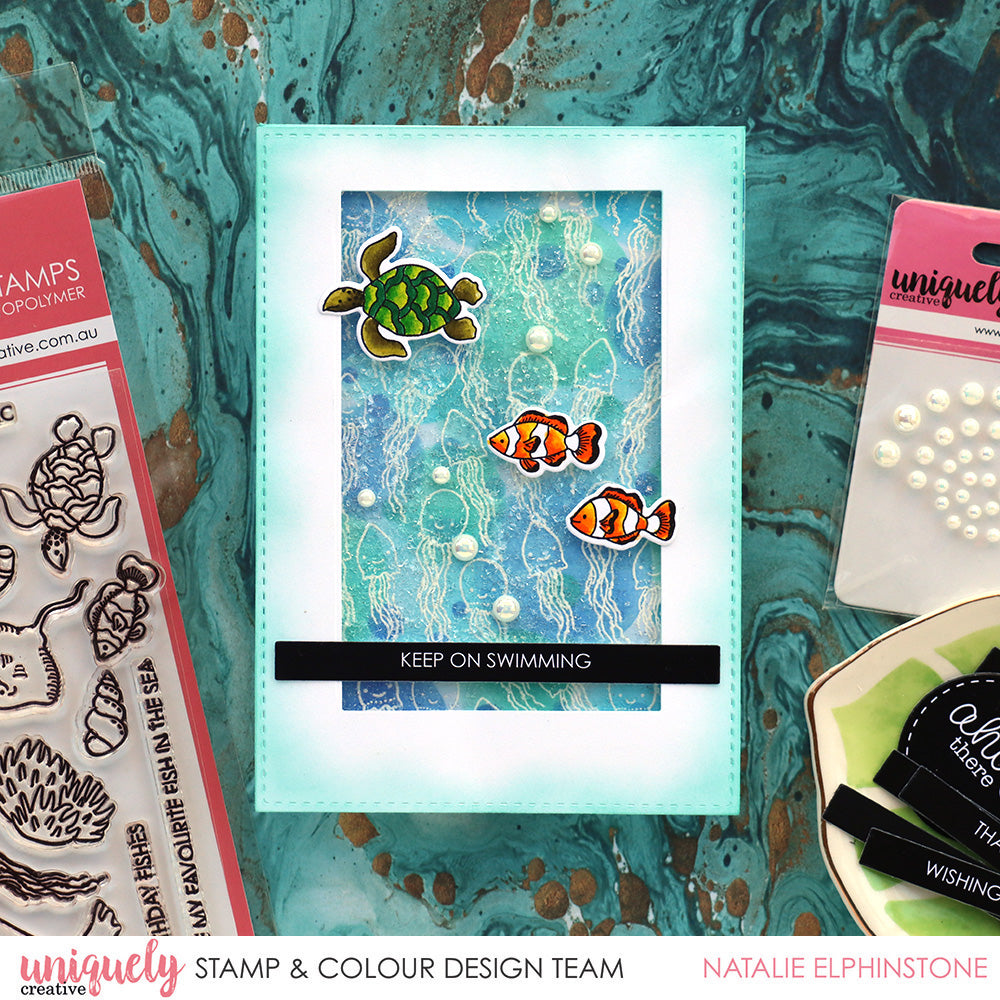
UC1845 Under The Sea Stamp, UCD1996 Under The Sea Die, Cut-a-part Sentiment Strips, UCD1958 Cut-A-Part Essentials #5 die, UCD1974 Stitched Nesting Rectangle Dies, UCD1999 Scene Builder #1 Die, Watercolour Paper, UCE1772 Uniqolour Markers, Stencil Brush, Foam Tape, Pearl Bling
Other Products Used:
Blue and white cardstock, Distress Ink
Instructions:
1. On a pale blue piece of cardstock stamp and emboss a repeating pattern of jellyfish with white embossing powder, until the whole background is covered. Heat set it like usual.

2. Using scraps of leftover cardstock, die-cut or punch three different size circles. For the tiny little circles use the bubbles from the new ‘Scene Builder #1” die. These are going to be stencils.

3. Starting with the biggest circle stencil a random pattern in a variety of different shades of blue/aqua across your jellyfish background. Using a stencil brush for this because you can even achieve a bit of shading – making it slightly darker on the outside of the circles, which makes it look more like bubbles.

4. Repeat the same thing with the medium size circle stencil, and the little bubbles at the end. This creates a very watery bubbly kind of background! Don’t forget to use a clean cloth at the end to wipe off any residual ink from the top of the embossed jellyfish. This really makes them pop!

5. Die cut a rectangle of white cardstock using the largest Stitched Nesting Rectangles die, and then used a smaller one to cut a window in it. The ‘window’ is not exactly centered – it’s positioned slightly more towards the top. Again use your stencil brush to blend a bit of colour around the outside edge to tie it all together, then mount this on my background with foam tape to give it more dimension.

Bonus Card - Smile Birthday Wishes To You

