Our Warehouse is Now Closed for Christmas - All Orders will Ship from 7th January 2026
Our Warehouse is Now Closed for Christmas - All Orders will Ship from 7th January 2026
Add description, images, menus and links to your mega menu
A column with no settings can be used as a spacer
Link to your collections, sales and even external links
Add up to five columns
Add description, images, menus and links to your mega menu
A column with no settings can be used as a spacer
Link to your collections, sales and even external links
Add up to five columns
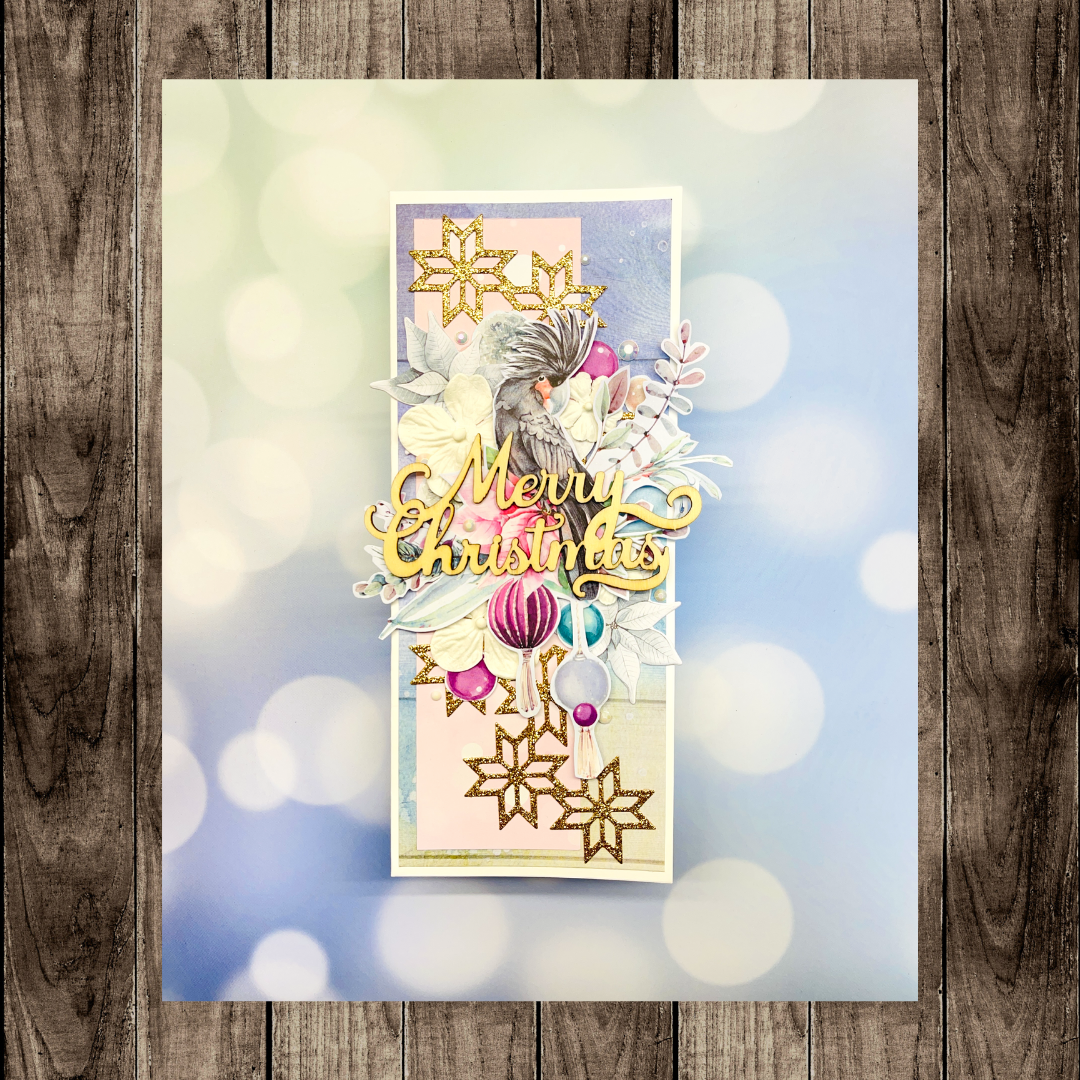
Layered Slimline Christmas Tutorial - Jo Herbert
September 11, 2021 1 Comment

Uniquely Creative Products Used:
UCP2271 Christmas Ornament, UCP2265 Christmas By The Sea, UCP2270 Christmas Lights, UCE1857 Lace Leaves, UCE1817 White Flowers, UCE1721 Merry & Magical Lasercut, UCD2008 Nordic Stars Die, UCE1724 Crystal Bling, UCE1812 Slimline Cards, Gold Glitter Cardstock
Other Products Used:
Trimmer, Scissors, Adhesives, Die Cutting Machine.
Instructions:
1. Cut up all the elements from the Christmas Ornaments, these will be used throughout the card for layers.

2. Cut 3 ¼” x 8” from the Christmas by the Sea pattern paper and adhere down on the pre-cut Slimline cardstock base.

3. Cut 2” x 7 ½” from the Christ lights pattern paper and adhere down on cardbase.
4. Die cut with the gold glitter cardstock the Nordic stars die and cut in half.

5. Adhere down the white flowers, little elements previous cut such as baubles and poinsettias.

6. Adhere down the bigger cut out elements leaving the black cockatoo piece till last with foam adhesive.

7. Adhere down the lasercut sentiment over the top.
8. Finish the card off with crystal bling.
1 Response
Leave a comment
Newsletter
Join our mailing list and never miss an update …

Bev Page
September 11, 2021
Your products are stunning and I absolutely LOVE your beautiful card. Thanks for the step by step, but I just LOVE Youtubes, I much prefer to watch the card being created rather than reading about it, although the pics really helped. Love everything about your procudcts and so proud that you are an Aussie Company. You are, aren’t you? Whoever designs and paints your papers is a true artist. My older daughter is an artist, so I truly appreciate the talent for colour and design, the skill and hard work that goes into each sheet. Thanks so much for sharing.