Thanks For Making Life Fun Tutorial - Vicki Poulton

Uniquely Creative Products Used:
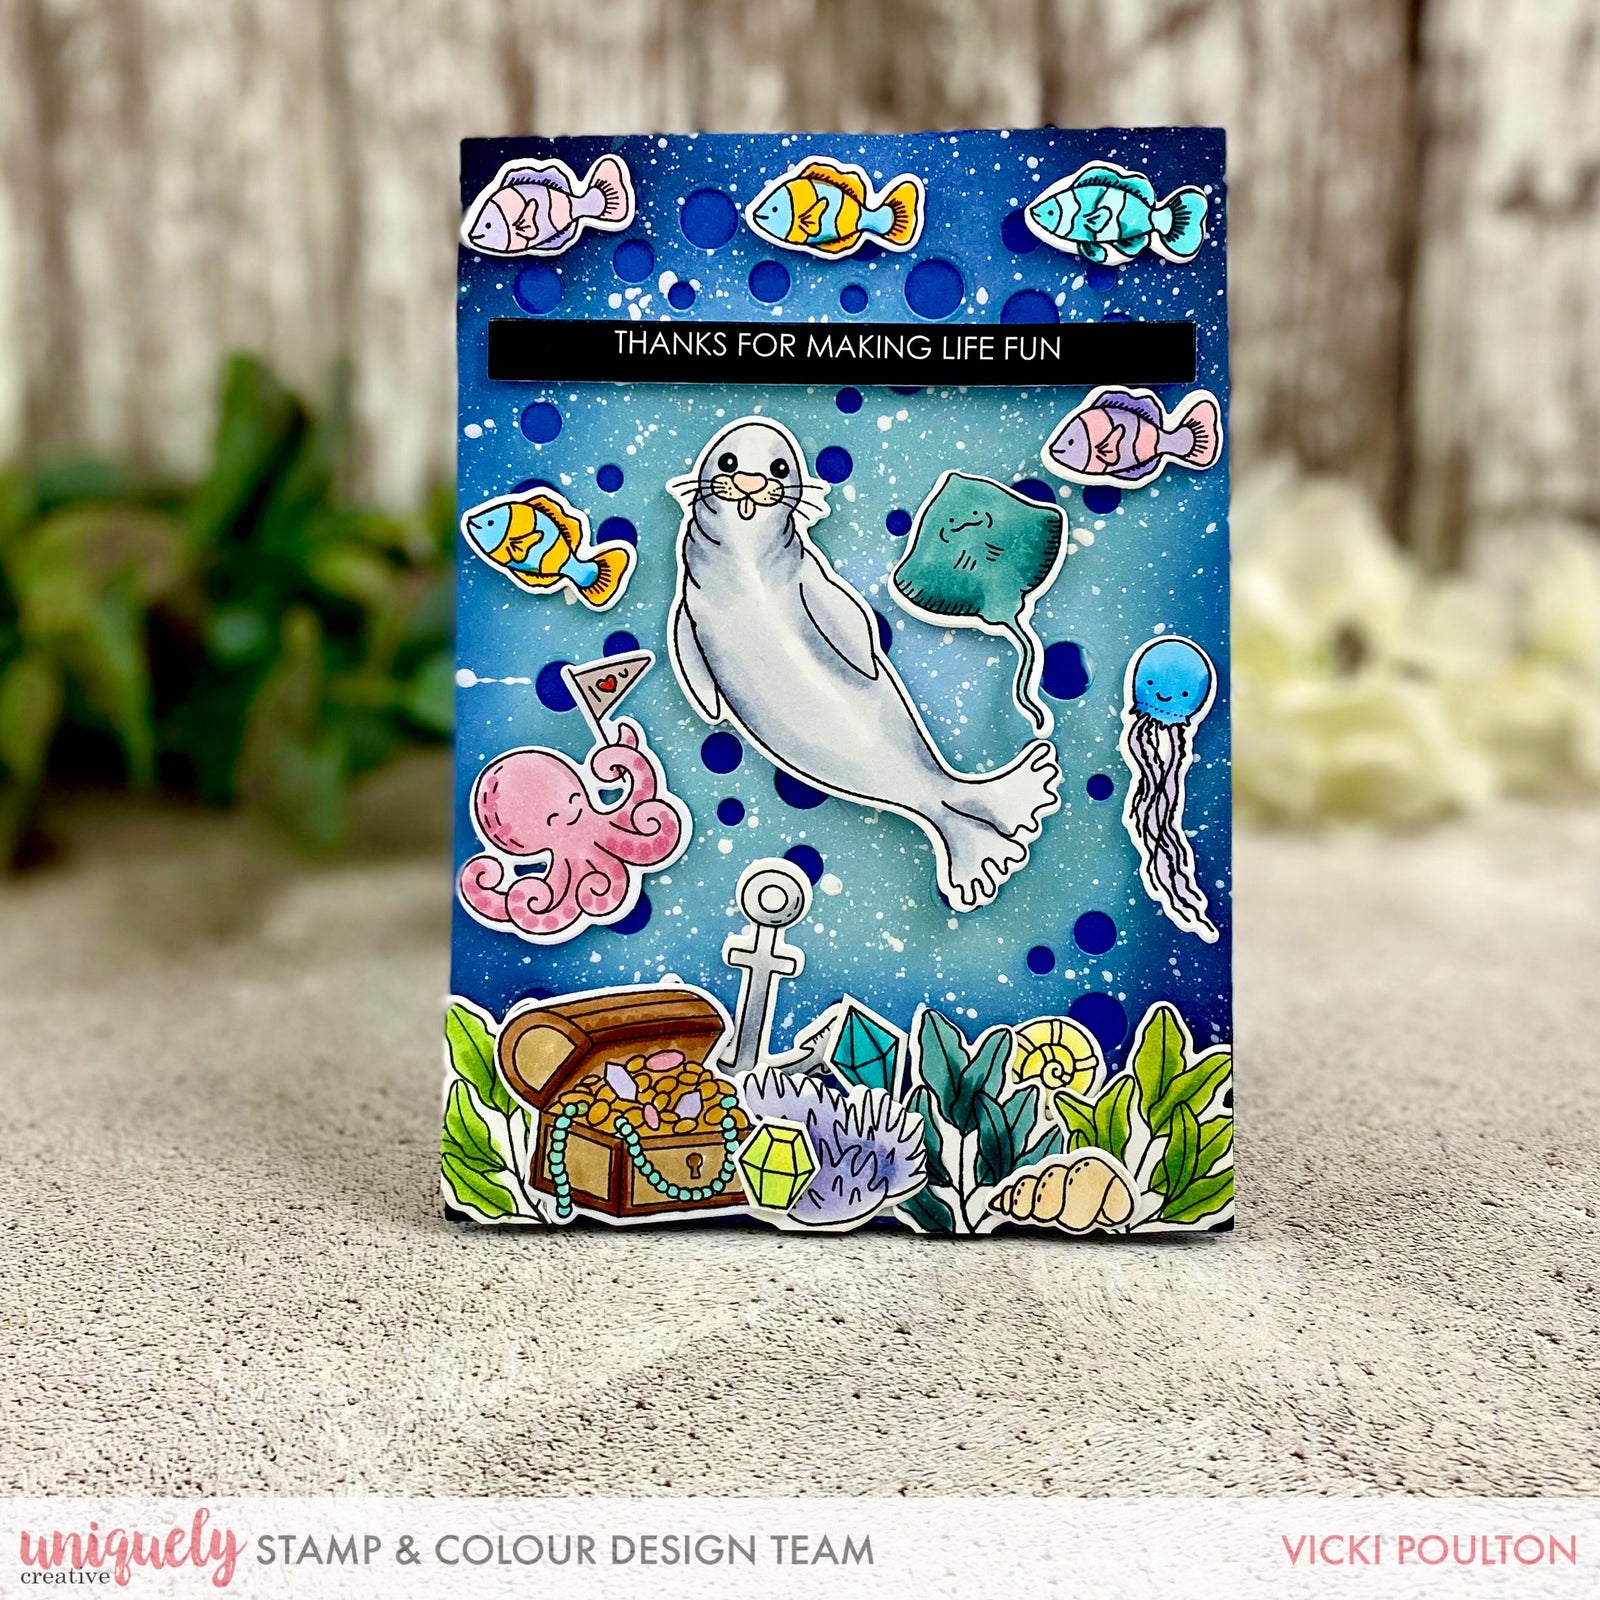
UC1845 Under The Sea Stamp Set, UCD1996 Under The Sea Coordinating Dies, UCD1999 Scene Builder 1, Sentiment Strips, UCE1778 Uniquely Creative Blending Brush.
Other Products Used:
Distress Ink - Speckled Egg & Faded Jeans. Copics: Seal: C4, C2, C0, E41, R30, Stingray: NG75, BG72, Jellyfish: B12, B14, BV00, RV52, Octopus: R81, R83, R29, E70, Fish: B12, B14, Y17, YR04, BV31, BV34, RV10, RV11, Treasure Chest: E23, E27, E79, YR23, BV000, BG32, BV31, Seaweed: YG13, YG17, BV31, BV34, BG72, BG75
Instructions:
1. Using the rectangle die from the scene builder 1, die cut a rectangle using light blue card. Add some bubbles onto this piece of card using the dies. Keep running through your die cutting machine until you have lots of bubbles.

2. Ink blend some distress inks onto your card using speckled egg and faded jeans. Add faded jeans to the top and sides if your card. Add some black soot ink to the edges to darken the card. Once complete add some white splatters to your card.

3. Whist waiting for your background to dry, stamp all your images onto a piece of copic friendly card. Using the above colours colour your images in and use the coordinating dies to die cut them out.

4. Back the ink blended panel onto a piece of dark blue card. Then begin to add your images and sentiment.

5. Once all the images are adhered down, turn the card over and add some foam tape to the back of the panel.

6. Adhere the panel to your card base.
Bev Page
September 11, 2021
Vicki, that is such a cute and fun card – love everything under the sea, and this one just makes me smile and feel happy. Thanks for the tutorial. You girls really need to make videos. Your instructions are clear, but I do love to watch cards being created. Thanks so much for sharing this cute card.