Welcome to the World Flip Folio - Shannah Bartle

Uniquely Creative Products Used:
UCP2313 Stories, UCP2314 Characters, UCP2316 Secrets, UCP2317 English Rose, UCP2318 Curious, UCP2319 Marvellous, UCP2320 Book Week, UCP2323 Creative Cuts, UCD2024 Bookmark die, UCE1876 Vellum album inserts, UCE1883 The Story Garden thread, The Story Garden cut-a-part sheet, UCD2029 Nesting Book die, UC watercolour cardstock, UCD1965 Slim Doily Rectangle die, UCD1966 Slim Doily Border die, UCD1935 Tags, Tops & Tails die, UCD1925 Mini Envelope die, foam mounts
Other Products Used:
White cardstock, Walnut Stain Distress ink, sponging tool, green twine, embroidery needle, lace, trimmer, scissors, adhesives, die cutting machine, score tool, WRMK envelope punch board.
Note: Shannah was inspired by Liz - The Paper Project’s Snail Mail Autumn folio on YouTube for this project… so please check out her awesome tutorial too!
Instructions
1. Create an 18.5cm x 13cm envelope from thin white cardstock using an envelope punch board. Sponge the edges with Walnut Distress ink.

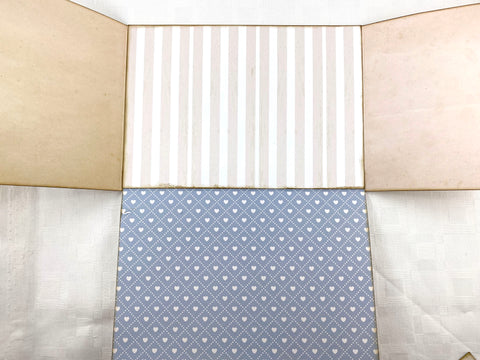
2. Cut two pieces of English Rose paper 13cm x 12.5cm and ink the edges with Distress ink. Score and fold a 1.5cm flap on the short inside edge of each piece. Adhere the flap of one piece to each side of the front of the envelope using liquid glue.

3. Cut a piece of blue Secrets paper to 18.3cm x 14.3cm and ink the edges with Distress ink. Score and fold a 1.5cm flap along the long top edge, then adhere the flap to the bottom edge of the front of the envelope using liquid glue.

4. Cut a piece of striped Curious paper to 18.3cm x 12.3cm and ink the edges with Distress ink. Adhere to the centre of the envelop front, covering all the adhered edges.
5. Cut a 20cm x 2.5cm piece of green Characters paper and die cut a Slim Doily Rectangle die across the top edge. Cut an 18.3cm x 6cm piece from the bottom left corner of Secrets paper. Adhere the die cut border behind the top edge of the larger piece then ink with Distress ink. Adhere just the bottom edge and sides to the striped panel to create a long pocket.

6. Cut a 6.5cm x 12.8cm piece of Secrets paper which features the sweet cat. Add glue to the top, bottom and right sides only, then attach to the right side of the blue panel to create a side pocket.

7. Cut an 11cm x 6cm piece of Characters paper and adhere to the left flip out page, placing glue on the sides and bottom only to create another pocket.

8. Trim an image card from the reverse of Stories paper with roses. Die cut a Slim Doily Border die from green Stories paper and adhere a piece to either side. Adhere some white card to the back to write a message on, then tuck into the pocket. Add a Creative Cut to the front of the pocket.

9. Die cut a Bookmark from Stories paper and trim the top and bottom to fit the right flip out page. Ink the edges then adhere at the very top and bottom edges only to make a belly band.

10. Trim an image card from the reverse of Stories paper and matt with a border of Characters paper. Adhere some white card to the back to write a message on, then tuck into the belly band. Fussy cut a floral cluster from Marvellous paper and adhere to the centre of the belly band.

11. Cut an 18.3cm x 12.8cm piece from the top left corner of Curious paper. Fussy cut the bunny and blue flowers from Secrets paper and adhere in the left corner.
12. Die cut the smallest Nesting Book die once each from Characters paper, English Rose paper and the vellum album inserts. Adhere the English Rose layers together and trim around the stitching line, then score down the centre. Use a tapestry needle to pierce holes along the fold, then backstitch with green thread. Adhere onto the Characters layer, shape gently and attach to the project at an angle.
13. Die cut one feather from English Rose paper and two from white cardstock. Adhere the layers together for depth then attach to the book.

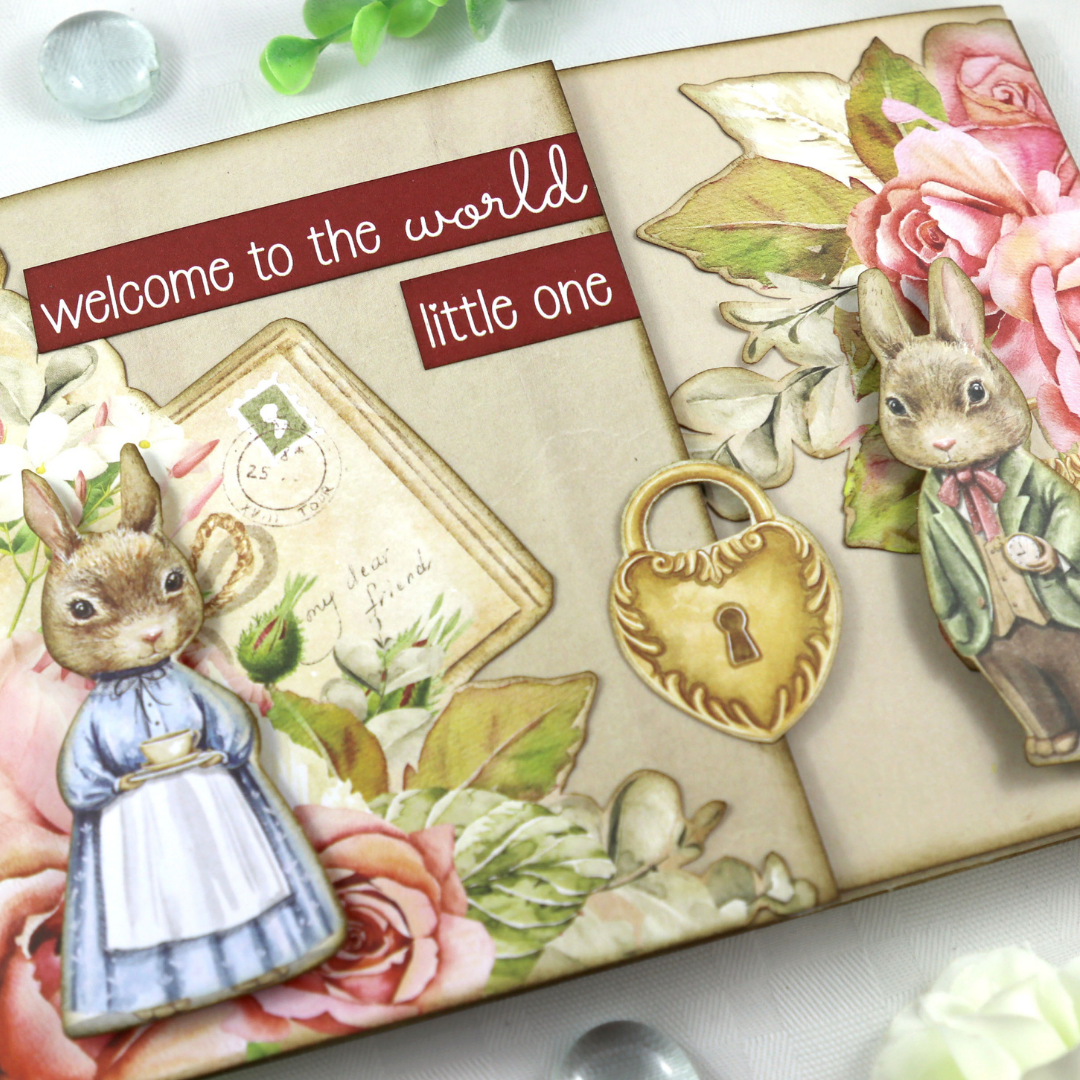
14. Add some fussy cut roses and leaves from Marvellous paper in the bottom left and top right corner, and a sentiment banner from the Creative Cuts.

15. To finish the inside long pocket, fussy cut a goose from Characters paper and adhere to the left side.
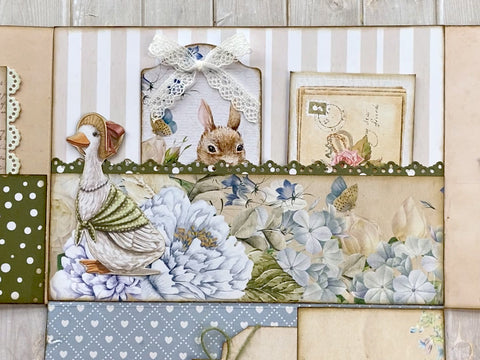
16. Die cut the bookmark on the cut-a-part sheet using the Tags, Tops & Tails die. Make a lace bow and adhere to the top, then tuck in the left side of the pocket.

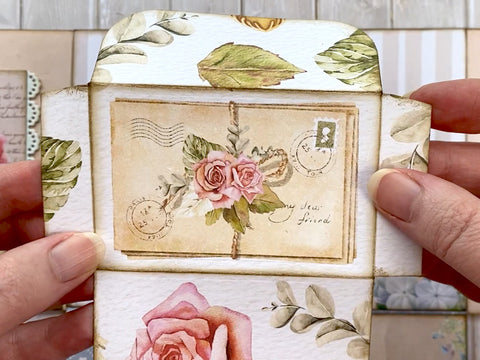
17. Die cut a Mini Envelope die from Marvellous paper, centring the die around an envelope on the pattern. Ink the edges, fold and tuck into the right side of the pocket.
18. Fussy cut a tag from the cut-a-part sheet and die cut a Bookmark from Stories paper. Add some green string and lace to the tops and slide into the pocket on the flip down panel.

19. Trace around the back of the envelope opening with a pencil onto Curious paper and trim around it. Ink the edges and adhere to the envelope. Add a Creative Cut and finish with a tab cut from the cut-a-part sheet using foam tape, leaving a gap to tuck the point into.
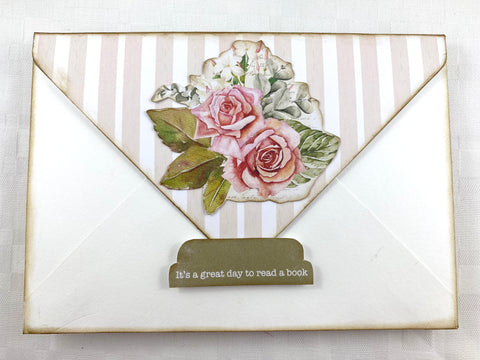
20. Fussy cut the rose clusters from the bottom left and top right corners of Curious paper. Ink around the edges and adhere one to each of the front panels.

21. Trim a sentiment from Book Week paper and add to the left panel and add an animal from the Creative Cuts to each panel using foam mounts. Fussy cut a padlock from Characters paper and adhere half to the left panel as an opening.

3 Responses


Tara
March 30, 2022
Absolutely gorgeous. I am certainly going to give this one a try.