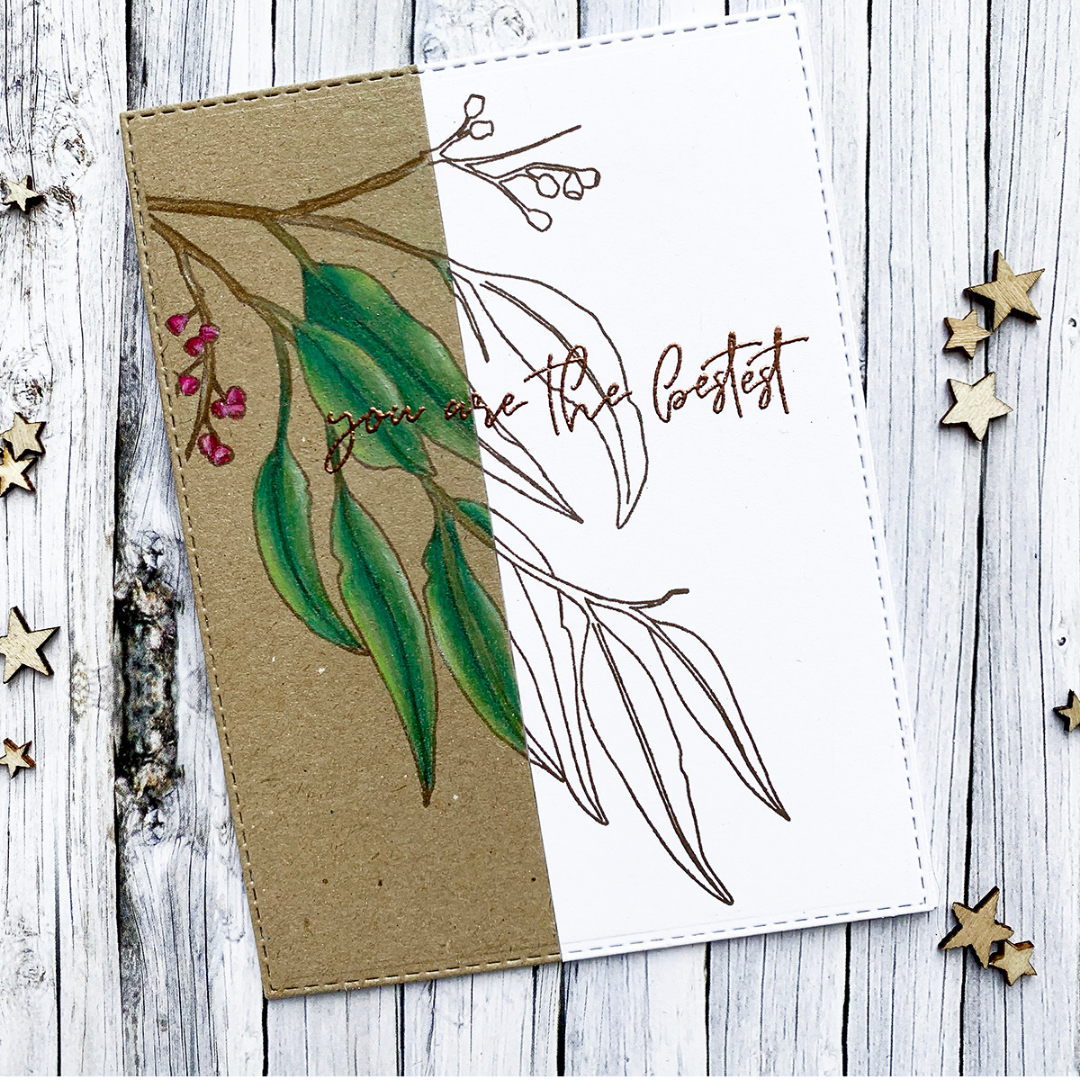
You Are The Greatest - Maya Isakkson

Uniquely Creative Products Used
Eucalyptus Branch stamp set, Round Branch Window die
Other Products Used
WOW! Copper embossing powder, Misti stamping tool
Colours Used
Prismacolor pencils - PC938, PC120, PC907, PC1004, PC1096, PC195, PC941, PC994
Instructions
Stick a kraft coloured and a white piece of cardstock together using Post it-tape on the back and die cut a card panel using the rectangle from the Round Branch Window die. Place it in Misti stamping tool (sometimes the cardstock differs in thickness so the impression in the join can be a bit bad, using a stamping tool you can re-stamp if needed). Take the two cardstock pieces apart and colour the kraft one. Attach them both on a card base using wet glue so you have a bit of wiggle room and can match the two pieces up perfectly. Stamp and emboss the sentiment. All done!

Donna Triffitt
July 01, 2019
At first glance I thought you have not finished them, then I had a close look and thought wow, I really like how you did this, very artistic.. x