Drive & Fly Slide Card Tutorial - Rachel Dutko

Uniquely Creative Products Used:
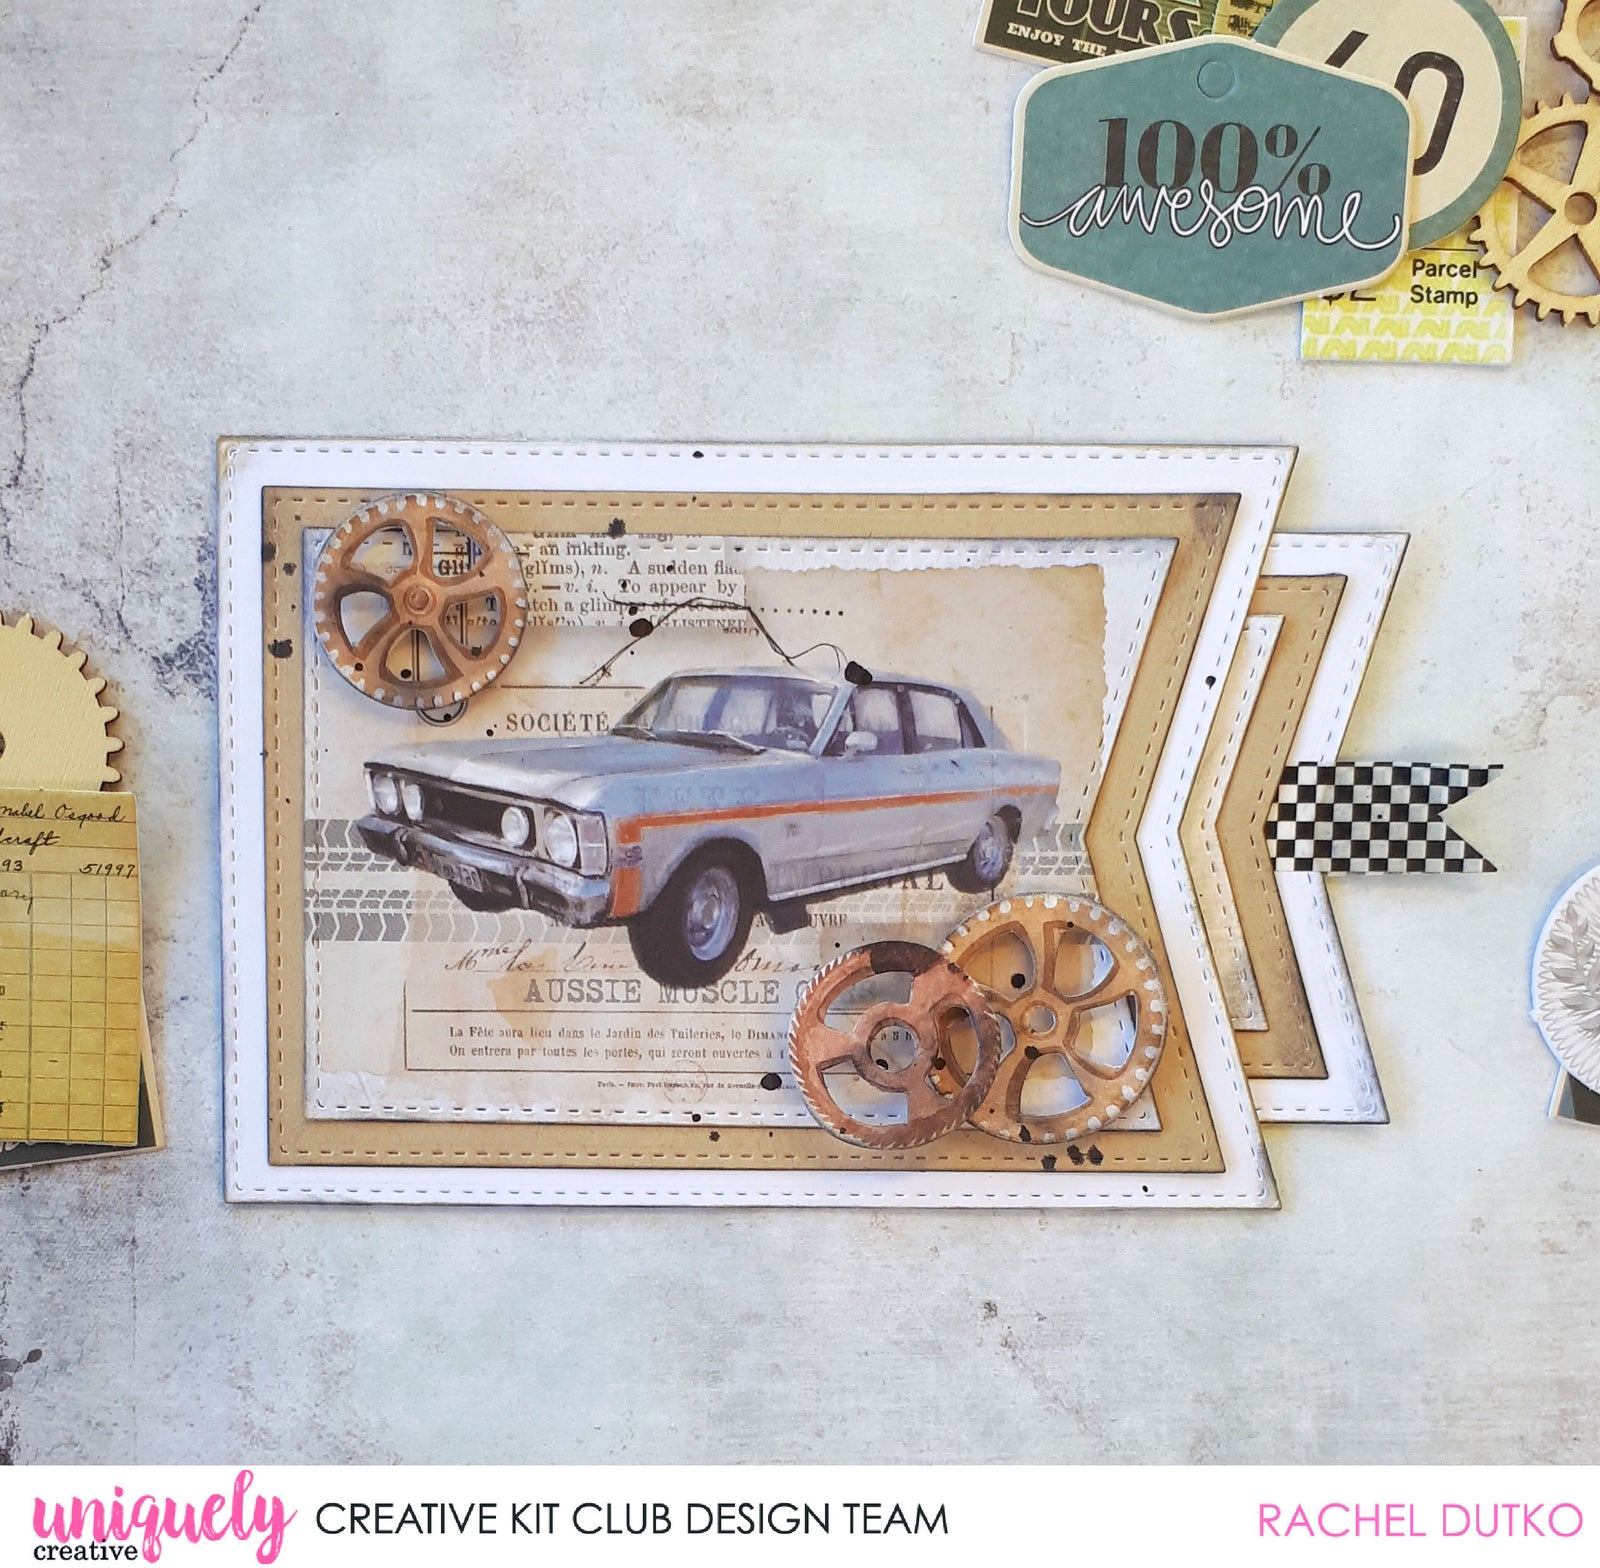
Watercolour Cardstock, Kraft Cardstock, UCP2242 Speed Paper, UCP2248 Race Day Paper, UCP2249 Drive & Fly Creative Cuts, Cut-A-Part Sheet, UCD1995 Stitched Banner Die, Checker Washi Tape
Other Products Used:
Double-sided tape, wonder tape, Uniquely Creative Foam Mounts Squares and Strips, glue, ruler, scissors, manual die cutting machine, black archival ink, blending brush, black ink spray
Instructions:
1. Using a manual die-cutting machine, die cut 2 of the largest banner from white cardstock. Adhere the banners together only on the three straight sides ( not the angled edge) to create a pocket. Ink the edges with black ink.

2. Die cut the second largest banner from Kraft cardstock. Using the third largest banner die, die cut the car image from the Speed paper. Ink the edges with black ink and adhere together.

3. Adhere to the card base with the banner points and the opening to the right.

4. Die cut the third largest banner die from white cardstock. Die cut the fourth largest banner from Kraft cardstock. Using the fifth largest die, die cut the cog and chevron design from the Race Day paper. Ink the edges. Do not adhere just yet.

5. Rip a 3" length of washi tape. Fold in half with the sticky side in. Adhere to the banner end of the white cardstock piece with about 3/4" overhanging. Trim the end of the washi into a banner.

6. Adhere the Kraft cardstock and then the cog/chevron piece.

7. Trim the blue 'Happy Father's Day' banner from the cut-apart sheet, leaving a slight white border. Ink the edges with black ink. Adhere to the centre of the cog/chevron piece, aligning with the washi tape strip. (I used glue to make sure the banner edges were completely adhered and wouldn't lift up to catch on the outer card as it slides.)

8. Choose 3 cogs from the Creative Cuts pack and ink the edges with black ink. Adhere to the front of the card with foam mounts.

9. Insert the card insert into the pocket, and finish with some black ink splatters.


Jennifer Holden
November 07, 2021
Love this card. Of course, I’ll use the Holden….